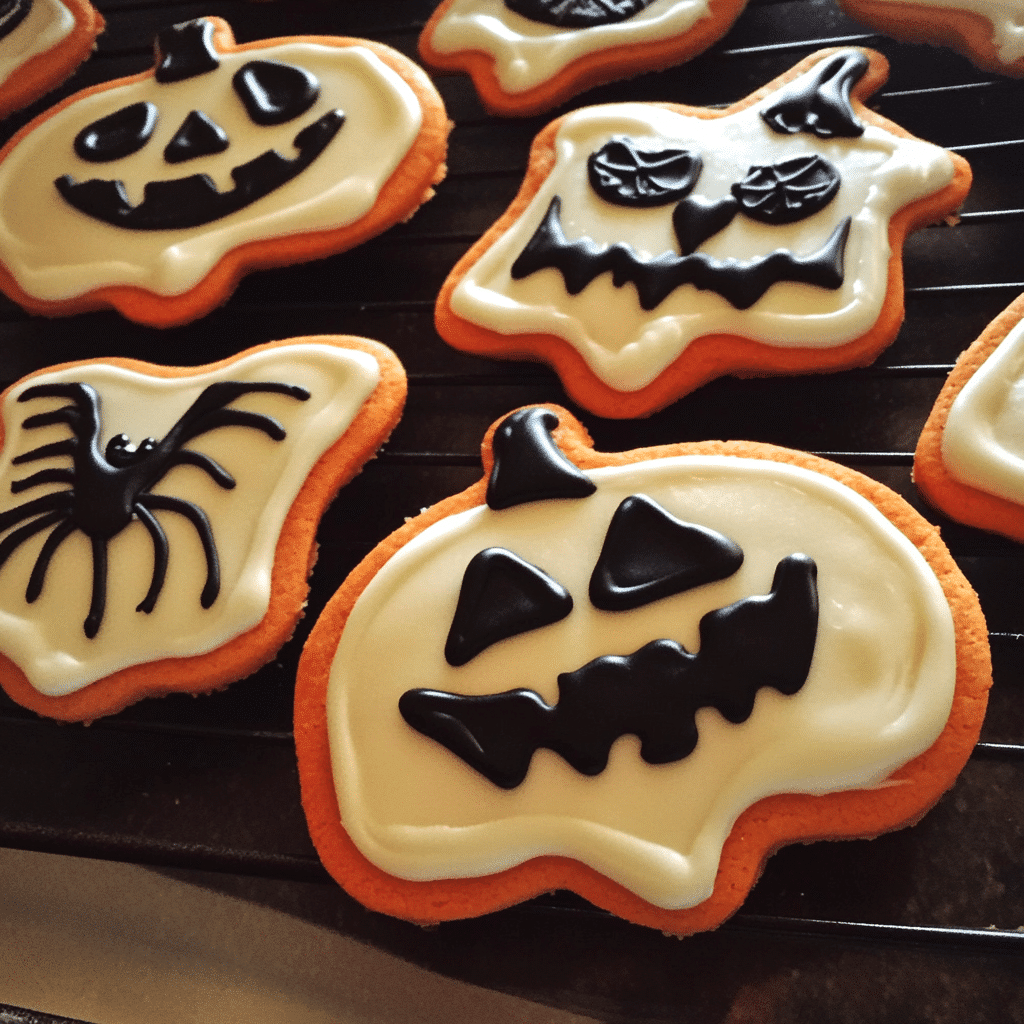
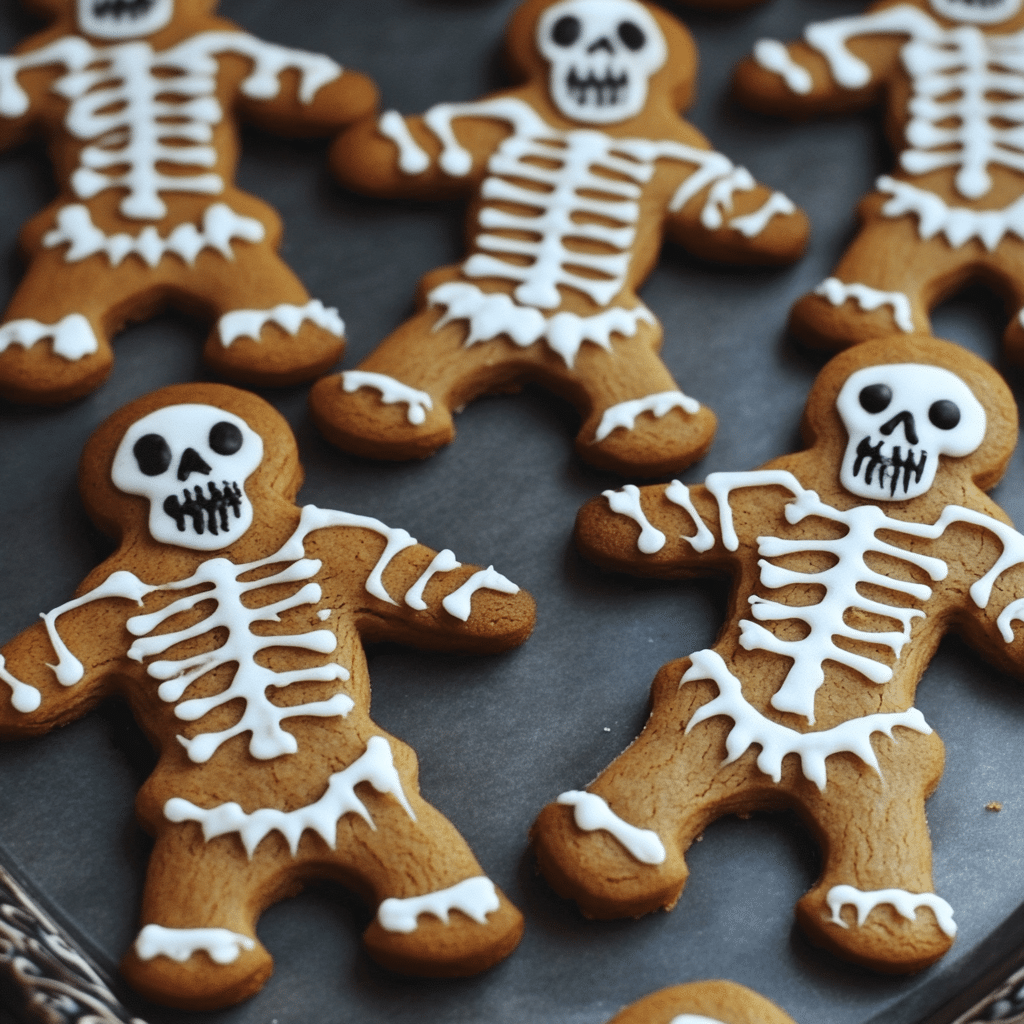
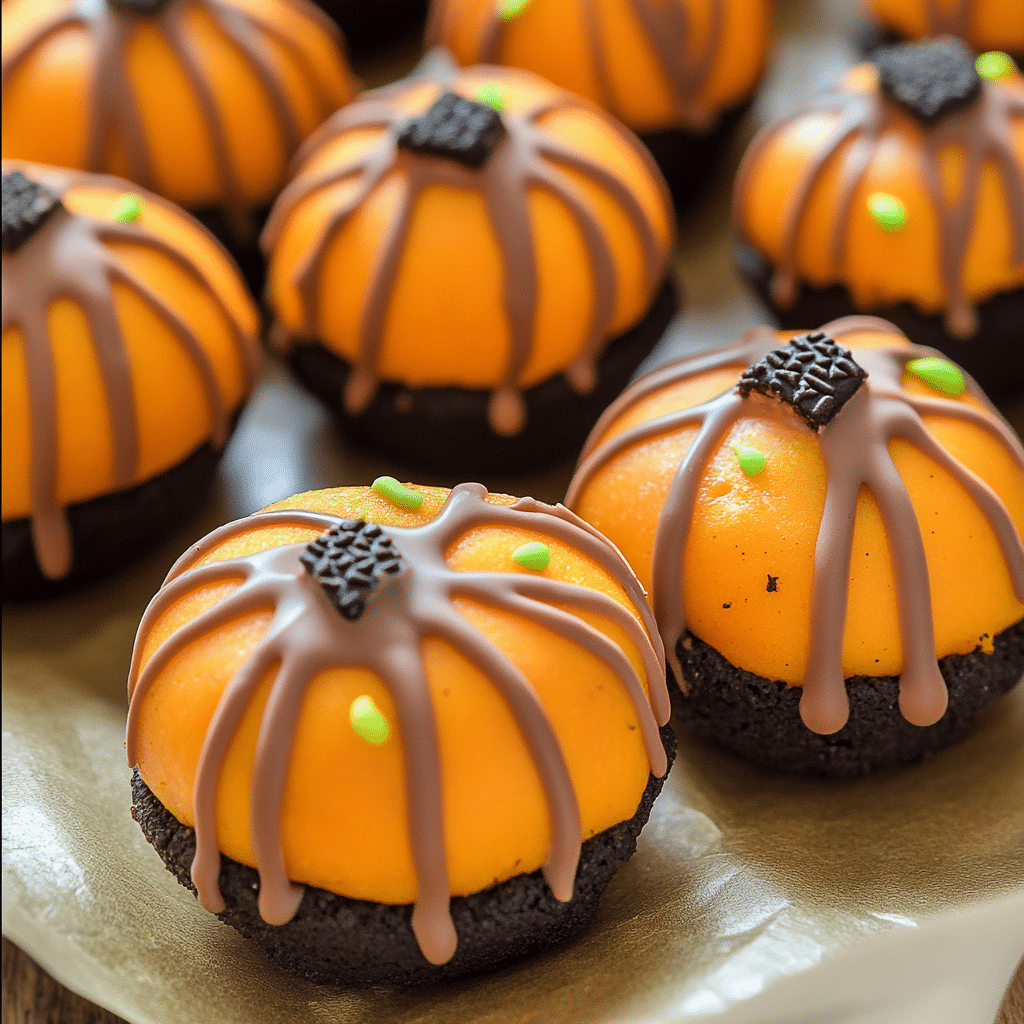
Halloween Sugar Cookies Frosted with Buttercream are the perfect treat to celebrate spooky season. They’re soft, buttery, and frosted with colorful, creamy buttercream that you can easily decorate in all sorts of fun Halloween shapes—think pumpkins, ghosts, bats, and witches’ hats. These cookies are as fun to make as they are to eat, making them a great activity for families, parties, or anyone who loves a little creativity in the kitchen. Plus, the homemade buttercream frosting adds an extra layer of sweetness and richness that takes these sugar cookies to the next level.
I love making these cookies around Halloween because the decorating possibilities are endless. One year, we made an entire cookie graveyard scene complete with little tombstones, pumpkins, and candy corn “grass.” They’re also perfect for gifting or bringing to school events, and since everyone loves a good sugar cookie, they’re always a hit!
Why You’ll Love These Halloween Sugar Cookies
Soft and Buttery: These sugar cookies have a perfectly tender texture and rich buttery flavor that melts in your mouth. They stay soft for days, making them perfect for baking ahead.
Festive and Fun to Decorate: With vibrant buttercream frosting and plenty of Halloween-themed cookie cutters, these cookies are a fun and creative activity for both kids and adults.
Customizable: You can easily adjust the colors, shapes, and decorations to match your Halloween theme. Whether you want spooky ghosts or friendly jack-o’-lanterns, the options are limitless.
Perfect for Gifting or Parties: These cookies make fantastic Halloween treats for parties, school events, or even just sharing with friends and neighbors. Wrap them in a festive bag, and you’ve got a homemade gift everyone will love.
Simple Ingredients: Made with basic pantry staples, this recipe is easy to whip up whenever you’re in the mood for some Halloween baking fun.
Prep Time and Servings
Total Time: 1 hour 30 minutes (30 minutes prep, 30 minutes chilling, 10-12 minutes baking, and 20 minutes decorating)
Servings: 24-30 cookies (depending on the size of your cookie cutters)
Calories per serving: 250 (depending on frosting amount)
Ingredients
For the Sugar Cookies:
- 2 1/2 cups all-purpose flour
- 1 teaspoon baking powder
- 1/2 teaspoon salt
- 1 cup unsalted butter, softened
- 3/4 cup granulated sugar
- 1 large egg
- 1 teaspoon vanilla extract
- 1/2 teaspoon almond extract (optional, but adds great flavor)
For the Buttercream Frosting:
- 1 cup unsalted butter, softened
- 3 1/2 cups powdered sugar, sifted
- 2 teaspoons vanilla extract
- 2-3 tablespoons heavy cream or milk (for thinning the frosting to spreadable consistency)
- Food coloring (orange, black, green, purple, or any Halloween colors)
- Sprinkles, candy eyes, and other Halloween-themed decorations (optional)
Step-by-Step Instructions
For the Sugar Cookies:
- Whisk Dry Ingredients: In a medium bowl, whisk together the flour, baking powder, and salt. Set aside.
- Cream the Butter and Sugar: In a large mixing bowl, use an electric mixer to cream the softened butter and granulated sugar together until light and fluffy, about 2-3 minutes. Scrape down the sides of the bowl as needed.
- Add Egg and Extracts: Beat in the egg, vanilla extract, and almond extract (if using) until well combined. The almond extract adds a lovely, subtle flavor to the cookies, but it’s optional if you prefer to stick with just vanilla.
- Mix in Dry Ingredients: Gradually add the dry ingredients to the butter mixture, mixing on low speed until just combined. Be careful not to overmix the dough—you want it to be soft and pliable, not tough.
- Chill the Dough: Divide the dough in half, form each half into a disc, and wrap them in plastic wrap. Chill the dough in the refrigerator for at least 30 minutes. Chilling helps the dough firm up, making it easier to roll out and cut into shapes.
- Preheat the Oven: Preheat your oven to 350°F (175°C) and line two baking sheets with parchment paper.
- Roll Out the Dough: Once the dough has chilled, lightly flour your work surface and rolling pin. Roll out one disc of dough to about 1/4-inch thickness. Use Halloween-themed cookie cutters (pumpkins, ghosts, bats, etc.) to cut out shapes, and place the cutouts on the prepared baking sheets, about 1 inch apart.
- Bake the Cookies: Bake the cookies for 10-12 minutes, or until the edges are just starting to turn golden. Be careful not to overbake them—you want the cookies to remain soft in the center. Allow the cookies to cool on the baking sheets for 5 minutes, then transfer them to a wire rack to cool completely.
For the Buttercream Frosting:
- Beat the Butter: In a large mixing bowl, beat the softened butter on medium speed until smooth and creamy, about 2 minutes.
- Add Powdered Sugar: Gradually add the sifted powdered sugar, about 1/2 cup at a time, beating on low speed after each addition. Once all the powdered sugar is added, increase the mixer speed to medium and beat until light and fluffy.
- Add Vanilla and Cream: Mix in the vanilla extract and 2 tablespoons of heavy cream or milk. Beat the frosting until it’s smooth and spreadable. If the frosting is too thick, add a little more cream. If it’s too thin, add a bit more powdered sugar.
- Color the Frosting: Divide the frosting into separate bowls, depending on how many colors you want to use. Add a few drops of food coloring to each bowl, and mix until you reach your desired shades. For Halloween, orange, black, green, and purple are classic choices, but feel free to get creative!
Decorating the Cookies:
- Frost the Cookies: Once the cookies are completely cool, use a small spatula or butter knife to spread the buttercream frosting over each cookie. You can also use piping bags with different tips for more detailed designs.
- Decorate: Use Halloween-themed sprinkles, candy eyes, or even draw faces and patterns with extra frosting. For example, you can make jack-o’-lantern faces on pumpkin-shaped cookies, draw spiderwebs on round cookies, or use candy eyes to make spooky monsters.
- Let the Frosting Set: Allow the frosted cookies to set for about 20-30 minutes before serving. This gives the buttercream time to firm up slightly, making the cookies easier to stack or transport.
How to Serve
- At a Halloween Party: Arrange these cookies on a festive platter for a spooky Halloween party centerpiece. They’re sure to be a crowd-pleaser for kids and adults alike.
- With Hot Cocoa or Milk: Serve the cookies alongside a warm cup of hot cocoa, coffee, or a glass of cold milk for a comforting treat.
- As a Gift: Wrap a few cookies in cellophane bags tied with Halloween-themed ribbon for a fun and tasty gift for friends, family, or teachers.
Tips for Success
Chill the Dough: Don’t skip chilling the dough before rolling it out. This helps the dough firm up, making it easier to roll and cut, and also helps the cookies hold their shape while baking.
Use Room Temperature Butter: For both the cookies and the frosting, make sure your butter is softened to room temperature before mixing. This ensures a smooth, creamy texture and helps the dough and frosting come together perfectly.
Make Ahead: You can make the cookie dough ahead of time and store it in the fridge for up to 3 days or in the freezer for up to a month. Just let it thaw in the fridge before rolling it out. The cookies can also be baked and stored unfrosted for up to 3 days, then decorated when you’re ready.
Don’t Overbake: Keep a close eye on the cookies while they bake. They should be just set and lightly golden around the edges for the perfect soft texture.
Recipe Variations
Gluten-Free Halloween Sugar Cookies: To make these cookies gluten-free, substitute the all-purpose flour with a 1:1 gluten-free baking flour. Make sure to check that all your ingredients, like the extracts and food coloring, are also gluten-free.
Pumpkin Spice Sugar Cookies: For a fall-inspired twist, add 1/2 teaspoon of pumpkin pie spice to the dry ingredients. This adds a warm, spiced flavor that’s perfect for autumn.
Cream Cheese Frosting: Swap the buttercream for cream cheese frosting for a tangy contrast to the sweet sugar cookies. Simply beat 1/2 cup softened cream cheese, 1/4 cup butter, and 3 cups powdered sugar until smooth, and then add vanilla and food coloring as desired.
Royal Icing for More Detailed Designs: If you prefer a crisp icing finish, you can use royal icing instead of buttercream for decorating. Royal icing hardens as it dries, making it ideal for intricate designs or stacking cookies.
How to Store and Freeze
Storing: Store the decorated cookies in an airtight container at room temperature for up to 3 days. If you’re stacking them, place a layer of parchment paper between each layer to prevent smudging the frosting.
Freezing: These cookies freeze well, both frosted and unfrosted. To freeze unfrosted cookies, place them in a freezer-safe container or bag for up to 3 months. Th
aw them at room temperature before decorating. For frosted cookies, freeze them in a single layer until the frosting is solid, then stack them in an airtight container with parchment paper between layers.
Special Equipment
- Halloween Cookie Cutters: You’ll need fun Halloween-themed cookie cutters for this recipe—think pumpkins, ghosts, bats, witches’ hats, and more!
- Rolling Pin: A rolling pin is essential for rolling out the dough evenly.
- Piping Bags and Tips (Optional): If you want to create more intricate designs, piping bags and various frosting tips can help you get more detailed.
FAQ
Can I use store-bought frosting?
Yes! If you’re short on time, you can absolutely use store-bought buttercream or frosting. Just divide it into bowls and color it with food coloring as needed.
Can I skip the chilling step?
Chilling the dough is important to help the cookies hold their shape. If you don’t chill the dough, the cookies may spread too much in the oven and lose their detailed shapes.
Can I make these cookies in advance?
Yes! You can make the dough ahead of time and refrigerate or freeze it until you’re ready to bake. You can also bake the cookies and store them unfrosted for a few days, then decorate them when you’re ready.
What if I don’t have Halloween cookie cutters?
No worries! You can use any cookie cutters you have on hand or even cut the dough into circles or squares and decorate them with spooky faces or patterns.
Can I color the cookie dough?
Absolutely! If you want to make the dough itself colorful, you can add food coloring to the cookie dough before rolling it out. This can be a fun way to make even more vibrant Halloween cookies!
Conclusion
Halloween Sugar Cookies Frosted with Buttercream are a must-have treat for any Halloween celebration. They’re soft, buttery, and totally customizable, making them a fantastic canvas for your spooky (or silly!) decorating ideas. Whether you’re baking them for a party, giving them as gifts, or just enjoying them with your family, these cookies are sure to bring a smile to everyone’s face. The combination of rich buttercream frosting and tender sugar cookies is truly irresistible. Get creative with your designs, have fun with the decorating, and enjoy a deliciously festive Halloween!
Print
Halloween sugar cookies frosted in buttercream
- Total Time: 1 hour 30 minutes
Description
There’s something magical about Halloween that brings out our creativity, especially in the kitchen. Every year, my family looks forward to one special treat: Halloween sugar cookies frosted in buttercream. These cookies are a perfect blend of sweetness and nostalgia. I made a batch last weekend, and let me tell you, it was a hit with everyone—especially the kids! They loved decorating the cookies with spooky designs, and honestly, I couldn’t stop sneaking one (or two!) off the cooling rack myself. The buttercream frosting added a melt-in-your-mouth texture that perfectly complemented the soft sugar cookies. Plus, the vibrant colors of the frosting made them the ultimate festive treat for any Halloween gathering.
Ingredients
Here’s everything you’ll need to whip up a batch of these Halloween sugar cookies:
For the cookies:
- 2 ½ cups all-purpose flour
- 1 cup unsalted butter, softened
- 1 cup granulated sugar
- 1 egg
- 1 teaspoon vanilla extract
- ½ teaspoon almond extract (optional, but highly recommended for extra flavor)
- 1 teaspoon baking powder
- ¼ teaspoon salt
For the buttercream frosting:
- 1 cup unsalted butter, softened
- 4 cups powdered sugar
- 2 teaspoons vanilla extract
- 2–3 tablespoons heavy cream (or milk for a lighter option)
- Gel food coloring in your choice of Halloween colors (orange, purple, black, green)
Instructions
For the Cookies:
- Prepare the Dough: In a large bowl, cream together the softened butter and sugar until light and fluffy. Add the egg, vanilla extract, and almond extract (if using), and continue mixing until combined.
- Mix Dry Ingredients: In a separate bowl, whisk together the flour, baking powder, and salt. Gradually add the dry ingredients to the wet mixture, stirring until a soft dough forms.
- Chill the Dough: Cover the dough with plastic wrap and refrigerate for at least an hour. This helps the cookies keep their shape when baking.
- Roll Out and Cut: Preheat the oven to 350°F (175°C). Roll out the dough on a floured surface to about ¼ inch thickness. Use Halloween-themed cookie cutters (like pumpkins, ghosts, and bats) to cut out shapes.
- Bake: Place the cookies on a parchment-lined baking sheet and bake for 8-10 minutes, or until the edges are lightly golden. Let the cookies cool completely on a wire rack before frosting.
For the Buttercream Frosting:
- Beat the Butter: In a large bowl, beat the butter until creamy.
- Add Powdered Sugar: Gradually add the powdered sugar, about one cup at a time, beating on low speed until fully incorporated.
- Add Flavor and Texture: Mix in the vanilla extract and heavy cream, then increase the mixer speed to medium and beat until the frosting is light and fluffy.
- Color the Frosting: Divide the frosting into bowls and use gel food coloring to achieve your desired Halloween colors.
- Decorate: Use piping bags or a spatula to spread the frosting onto the cooled cookies. Get creative with the designs—spiders, pumpkins, witches’ hats, or just fun swirls of color!
- Prep Time: 20 minutes
- Cook Time: 10 minutes
Nutrition
- Serving Size: 24
- Calories: 180

