Introduction
There’s something about Cornish hens that feels fancy, but also comforting. Maybe it’s the way they roast to golden perfection, crisping up beautifully while staying tender and juicy inside. Or perhaps it’s the sheer elegance they bring to any dinner table. Either way, glazed Cornish hens are the ultimate meal for special occasions, Sunday dinners, or even a simple weeknight that calls for something a little extra.
This glazed Cornish hen recipe is my go-to when I want to impress guests or simply treat my family to something that feels special but doesn’t require hours of prep. The glaze? Oh, it’s the secret sauce—sweet, tangy, and perfectly sticky, just the way a good glaze should be. It adds the perfect shine and a burst of flavor with every bite. The tenderness of the hens paired with that glaze makes each bite melt in your mouth.
It’s funny, but I first tried Cornish hens during a holiday dinner at my aunt’s house. I had no idea what to expect, but after one bite, I was hooked! The crisp skin, the juicy meat, and that glossy finish made me feel like I was dining at a five-star restaurant—at home. Since then, I’ve made them countless times, tweaking the glaze and adding my little twists here and there. And every time, they turn out just as delicious as I remember. If you’re looking to elevate your dinner game, this is the recipe you need!
Why You’ll Love This Recipe
I’m not going to lie, Cornish hens might sound a bit intimidating at first, but trust me, they’re easier to cook than you think, and you’ll be so glad you tried them. Here’s why this recipe is a must-try:
- Elegant yet easy: The Cornish hens are incredibly simple to prep and cook, but they look and taste like a showstopper.
- Perfectly glazed: The sweet and savory glaze adds the right amount of flavor to the tender meat, creating a beautifully caramelized crust.
- Family-friendly: Despite the fancy reputation, Cornish hens are totally kid-friendly. The portion size is just right, and my little ones love it when I drizzle the glaze all over their plate!
- Versatile: This recipe works for any season, whether you’re celebrating a holiday or just want to enjoy a comforting weeknight dinner.
Preparation Time and Servings
- Total Time: 1 hour 30 minutes
- Preparation Time: 15 minutes
- Cooking Time: 1 hour 15 minutes
- Servings: 2 Cornish hens (serves 2-4 people depending on appetite)
- Calories per serving: ~500-600 calories (depending on the size of the Cornish hens and glaze amount)
Ingredients
Cornish hens:
- 2 Cornish hens (about 1-1.5 pounds each)
- 1 tablespoon olive oil
- 1 teaspoon salt
- 1/2 teaspoon freshly cracked black pepper
- 1/2 teaspoon garlic powder
- 1/2 teaspoon onion powder
- 1/2 teaspoon paprika (for color and subtle smokiness)
glaze:
- 1/4 cup honey (I love using local honey for its rich flavor)
- 1/4 cup orange juice (freshly squeezed for the best flavor)
- 1 tablespoon soy sauce (or tamari for a gluten-free option)
- 1 tablespoon Dijon mustard
- 1/2 teaspoon ground ginger (adds warmth and depth)
- 1 tablespoon butter (for richness)
Step-by-Step Instructions
- Preheat the Oven
Start by preheating your oven to 375°F (190°C). The goal here is to get a nice hot oven that will crisp up the skin of the hens while cooking the meat perfectly. - Prepare the Cornish Hens
Pat the Cornish hens dry with paper towels. Drying them helps ensure the skin becomes crispy while roasting. Rub the hens all over with olive oil. This will not only help them crisp up but also add a bit of flavor. Sprinkle the salt, pepper, garlic powder, onion powder, and paprika evenly over the hens. Make sure you rub the seasoning into the skin to ensure even coverage. - Truss the Hens (Optional)
Trussing (tying the legs together with kitchen twine) helps the hens cook evenly and stay juicy. This step is optional but can make a big difference in presentation and texture. If you’re not familiar with trussing, simply tie the legs together at the base with some twine and tuck the wings underneath. - Roast the Hens
Place the hens on a roasting pan or a baking sheet lined with parchment paper. Roast in the preheated oven for 1 hour, basting occasionally with pan juices. After an hour, check the internal temperature with a meat thermometer; it should read 165°F in the thickest part of the thigh. If the skin isn’t golden brown enough for your liking, you can broil the hens for an additional 2-3 minutes at the end of cooking to get that perfect crispy skin. - Make the Glaze
While the hens are roasting, combine the honey, orange juice, soy sauce, Dijon mustard, ginger, and butter in a small saucepan over medium heat. Stir constantly until the mixture comes to a simmer. Continue to cook for about 5 minutes, until it thickens slightly and becomes syrupy. Remove from heat and set aside. - Glaze the Hens
When the Cornish hens are done roasting, remove them from the oven and let them rest for a few minutes. During this time, the juices will redistribute, and the hens will remain moist. After resting, drizzle the glaze generously over the hens. You can even return them to the oven for a few minutes to let the glaze set if you prefer it to be a little caramelized.

How to Serve
There are so many ways to serve these glazed Cornish hens! Here are a few of my favorite ideas:
- Classic Side Dishes: Serve with roasted vegetables, mashed potatoes, or buttery garlic bread. A simple green salad with a citrus vinaigrette would be the perfect balance to the rich glaze.
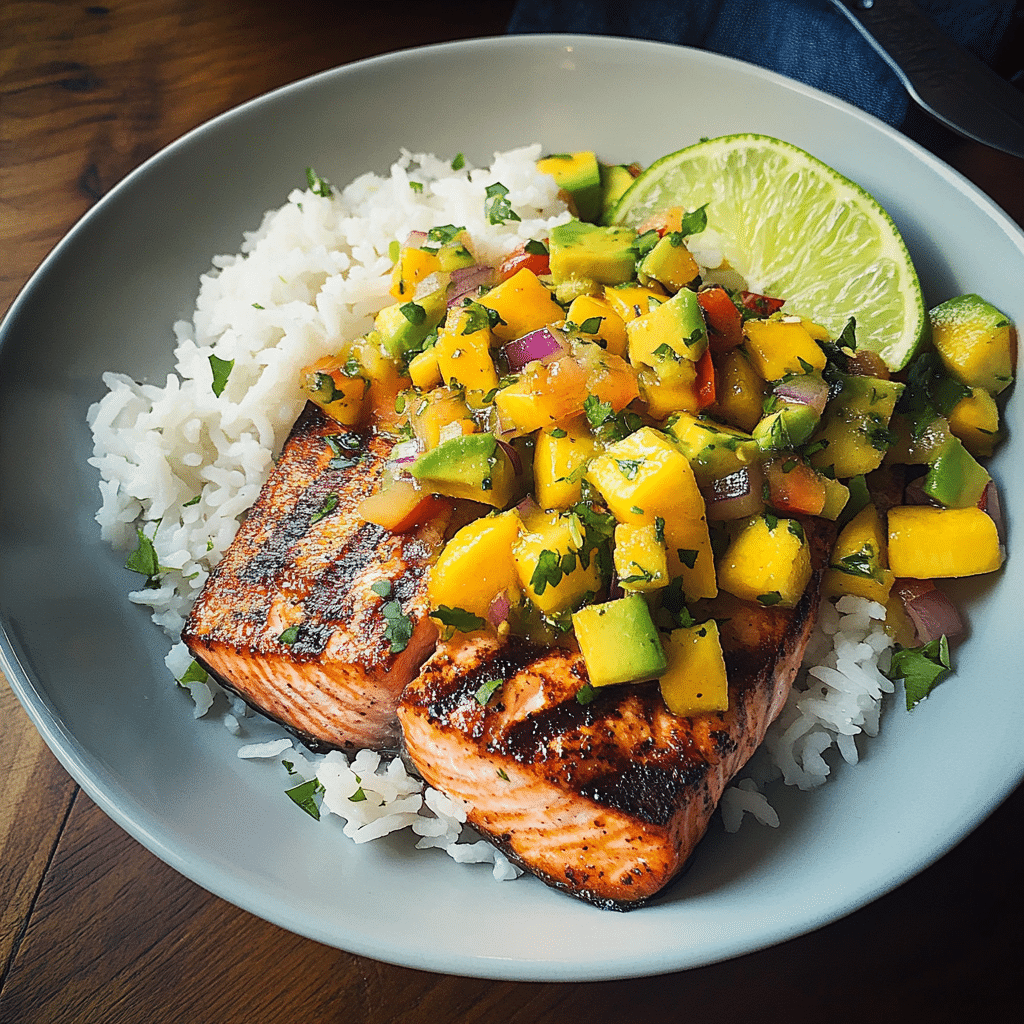
- Rice: Pair with fluffy jasmine rice or quinoa for a wholesome side. The rice will soak up the delicious glaze, making it even more enjoyable!
- Wine Pairings: If you’re in the mood for wine, a light, crisp white like Chardonnay or Sauvignon Blanc pairs beautifully with the sweetness of the glaze. If you prefer red, a Pinot Noir would work well with the mild flavors of the Cornish hens.
Additional Tips
Here are five helpful tips to make your Cornish hens perfect every time:
- Pat the Hens Dry: Make sure to dry the hens thoroughly before seasoning to ensure the skin gets crispy.
- Use Fresh Orange Juice: Fresh orange juice enhances the glaze’s flavor and gives it a nice natural sweetness.
- Baste with Pan Juices: Every 20 minutes, baste the hens with their own juices to keep them moist and flavorful.
- Don’t Overcook: The ideal internal temperature is 165°F. Overcooking will dry out the meat, so use a thermometer to get it just right.
- Make Extra Glaze: You can never have too much glaze! Make a little extra to serve on the side for dipping or drizzling.
Recipe Variations
If you want to put your own spin on these glazed Cornish hens, here are a few ideas to try:
- Herb-Infused Glaze: Add a few sprigs of fresh thyme or rosemary to the glaze as it simmers for a fragrant herbal note.
- Spicy Kick: If you like a little heat, add a pinch of red pepper flakes or a dash of hot sauce to the glaze for a spicy kick.
- Citrus Twist: Swap out the orange juice for lemon or lime for a zesty, tangy twist on the glaze.
Serving Suggestions
- Side Dishes: Roasted Brussels sprouts, mashed sweet potatoes, or a spinach and strawberry salad would complement the flavors of the hens wonderfully.
- Beverages: Serve with a glass of chilled iced tea or a refreshing cucumber mint water for a light, clean pairing.
- For Kids: Cornish hens are perfect for little hands! Serve them with some soft buttered bread or on top of rice for a kid-friendly meal.
Freezing and Storage
Storing leftovers:
- In the Fridge: Store the roasted hens in an airtight container for up to 3 days. When reheating, cover with foil to keep them moist and heat in the oven at 350°F for 15 minutes.
- Freezing: If you want to freeze the hens for later, place them in a freezer-safe container and freeze for up to 3 months. When ready to reheat, thaw overnight in the fridge and bake at 350°F for 25-30 minutes until heated through.
Special Equipment
To make sure your Cornish hens turn out perfectly, here are a few tools that will help:
- Roasting Pan: A roasting pan or baking dish will allow the hens to cook evenly and crisp up nicely.
- Meat Thermometer: A meat thermometer is essential to ensure your Cornish hens are perfectly cooked every time.
- Basting Brush: A silicone basting brush is helpful for glazing the hens throughout the cooking process.
Frequently Asked Questions (FAQ)
1. Can I make this recipe with chicken instead of Cornish hens?
Yes, you can! If you don’t have Cornish hens or prefer chicken, you can easily substitute them with whole chicken pieces or even a small whole chicken. Keep in mind that chicken pieces may need a bit less time to cook compared to Cornish hens, so adjust your cooking time accordingly. If using a whole chicken, it may take longer to cook through, so be sure to check the internal temperature with a meat thermometer.
2. Can I prepare the glaze ahead of time?
Absolutely! The glaze can be made up to 2-3 days in advance. Simply store it in an airtight container in the fridge and warm it up on the stove or in the microwave before glazing the hens. This can save you time on the day you cook!
3. What if I don’t have a roasting pan?
No worries! You can use any oven-safe dish, such as a baking sheet or casserole dish, to roast the Cornish hens. Just make sure there’s enough room for the hens to roast evenly without crowding. If using a baking sheet, line it with parchment paper or foil for easy cleanup.
4. How do I know when the Cornish hens are fully cooked?
The best way to check if your Cornish hens are cooked through is by using a meat thermometer. Insert it into the thickest part of the thigh (but not touching the bone). The internal temperature should read 165°F (75°C) when fully cooked. If you don’t have a thermometer, you can also check by cutting into the thigh—the juices should run clear, not pink.
5. Can I make this dish ahead of time?
While Cornish hens are best served fresh out of the oven, you can prepare them in advance up to the point of roasting. Season and glaze the hens, then refrigerate them for up to 12 hours before roasting. When you’re ready to cook, let the hens sit at room temperature for 15-20 minutes before roasting to ensure even cooking.

Glazed Cornish Hens
- Total Time: 1 hour
Ingredients
For the Cornish hens:
- 2 Cornish hens (about 1–1.5 pounds each)
- 1 tablespoon olive oil
- 1 teaspoon salt
- 1/2 teaspoon freshly cracked black pepper
- 1/2 teaspoon garlic powder
- 1/2 teaspoon onion powder
- 1/2 teaspoon paprika (for color and subtle smokiness)
For the glaze:
- 1/4 cup honey (I love using local honey for its rich flavor)
- 1/4 cup orange juice (freshly squeezed for the best flavor)
- 1 tablespoon soy sauce (or tamari for a gluten-free option)
- 1 tablespoon Dijon mustard
- 1/2 teaspoon ground ginger (adds warmth and depth)
- 1 tablespoon butter (for richness)
Instructions
- Preheat the Oven
Start by preheating your oven to 375°F (190°C). The goal here is to get a nice hot oven that will crisp up the skin of the hens while cooking the meat perfectly. - Prepare the Cornish Hens
Pat the Cornish hens dry with paper towels. Drying them helps ensure the skin becomes crispy while roasting. Rub the hens all over with olive oil. This will not only help them crisp up but also add a bit of flavor. Sprinkle the salt, pepper, garlic powder, onion powder, and paprika evenly over the hens. Make sure you rub the seasoning into the skin to ensure even coverage. - Truss the Hens (Optional)
Trussing (tying the legs together with kitchen twine) helps the hens cook evenly and stay juicy. This step is optional but can make a big difference in presentation and texture. If you’re not familiar with trussing, simply tie the legs together at the base with some twine and tuck the wings underneath. - Roast the Hens
Place the hens on a roasting pan or a baking sheet lined with parchment paper. Roast in the preheated oven for 1 hour, basting occasionally with pan juices. After an hour, check the internal temperature with a meat thermometer; it should read 165°F in the thickest part of the thigh. If the skin isn’t golden brown enough for your liking, you can broil the hens for an additional 2-3 minutes at the end of cooking to get that perfect crispy skin. - Make the Glaze
While the hens are roasting, combine the honey, orange juice, soy sauce, Dijon mustard, ginger, and butter in a small saucepan over medium heat. Stir constantly until the mixture comes to a simmer. Continue to cook for about 5 minutes, until it thickens slightly and becomes syrupy. Remove from heat and set aside. - Glaze the Hens
When the Cornish hens are done roasting, remove them from the oven and let them rest for a few minutes. During this time, the juices will redistribute, and the hens will remain moist. After resting, drizzle the glaze generously over the hens. You can even return them to the oven for a few minutes to let the glaze set if you prefer it to be a little caramelized.
- Prep Time: 15 minutes
- Cook Time: 1 hour
Nutrition
- Serving Size: 2
- Calories: 600
Conclusion
Glazed Cornish hens are a showstopper of a dish, perfect for everything from intimate family dinners to grand holiday feasts. With just a few simple ingredients and a little time in the oven, you can create a meal that’s both comforting and elegant. The sweetness of the glaze, paired with the crispy skin and juicy meat, will have everyone asking for seconds.
So go ahead—give this recipe a try, and see how quickly it becomes a favorite in your home. Trust me, once you’ve tasted these glazed Cornish hens, you’ll want to make them again and again!


